Sidebar
This is an old revision of the document!
Table of Contents
Solar System
Motivation
Solar energy as part of the renewable energy sources is a good alternative to fossil fuels. The sun's energy reaches a daily average intensity of around 165 W/m² on the earth's surface. This can be used directly with photovoltaic systems. In Germany, the annual radiation output (GHI = Global Horizontal Irradiation) is about 1,056kWh/m² and in my adopted country of Thailand it is around 1,800kWh/m² per year. This data can be found in GLOBAL SOLAR ATLAS.

In addition to the fact that there is enough solar energy here in Thailand for use, the reliability of the local power supply (grid) leaves a lot to be desired. The electricity is often cut off for a few hours in heavy rain or when repair work is being carried out. Stupid because our water pump also needs electricity. The greatest possible independence from the grid would be a clear gain in convenience. There is (so far) no reimbursement system like in Germany here in Thailand. The roofing of the carport was the third argument. After all, it rains heavily here or in the blazing sun the (black) car roof reaches a temperature of over 80°C.
Planning
What are the key points for the new solar system:
- the PV panels should span the carport as best as possible and be rainwater-proof
- A battery unit is required to bridge the night and cover power supply in the event of grid failures
- the inverter can be off-grid (without feedback) and should automatically switch between the energy sources (solar, battery, grid) as needed.
- the solution should support DIY, to be able to be integrated in Home Assistant and remain affordable.
Parameter
An important parameter is the required power that the new solar system should provide. To estimate one should roughly know the consumption values of your own household. In PowerMeter I have already described how to record the power consumption. Here is an example of the daily consumption in our house:
")
In addition to the air conditioning, the main consumers are of course thecirculation pump of the pool. The total consumption of this sample day was 18.8kWh. Typically, our daily consumption is between 15kWh and 25kWh. Almost half (45%) of this amount is at night (6:00 a.m. to 6:00 p.m.). The current maximum power requirement is around 5kW. In the worst case, however, this can go up to over 10kW if all 4 air conditioning systems, the pool and dwell pump, washing machine, water heater, etc. are in operation at the same time. However, 14.5kW is the maximum anyway, since the house is only connected to the grid with single phase and maximum of 63A.
For electrical autonomy, the planned PV system should therefore be able to deliver around 25kWh and the battery at least 11.25kWh.
Cost
The calculated consumption results in monthly costs of:
15kWh...25kWh/day * 30 days * 0.19€/kWh = 86,-€...143,-€ per month
(1kWh = 7Baht -> ~ 0.19€)
In fact, the costs are around €95. If the investment in the PV system should have amortized after 5…10 years, the system should not cost more than €5,700…€11,400. Let's see if that's too challenging…
Solar Panels
In recent years, the efficiency of solar panels has increased from 15% to over 20%. The efficiency mainly depends on the cell design as well as on the cell layout. Here is an overview of the most common versions:

My choice, also in terms of price and availability, felt on Half-cut mono PERC MBB, i.e. a monocrystaline module with Multi Bar Bus which, according to the manufacturer, achieves an efficiency of 21.2%.
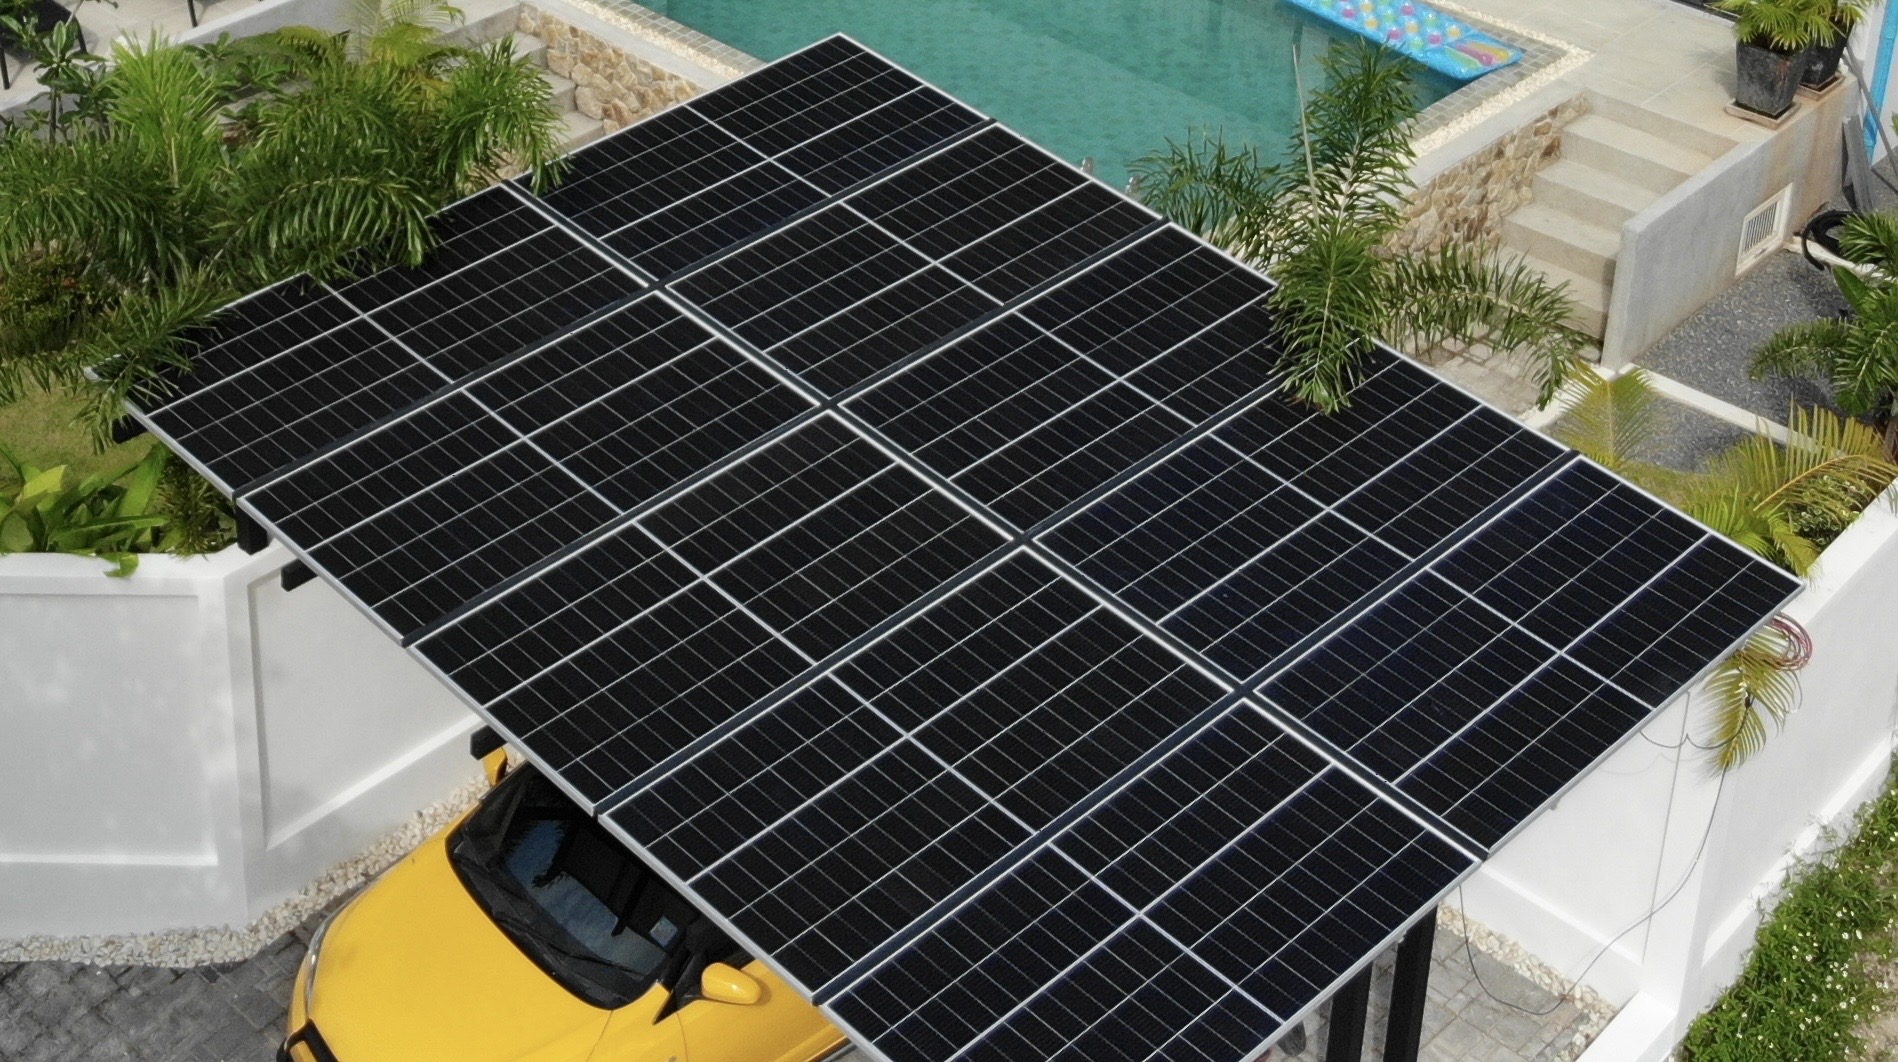
Since the panels are also intended to serve as carport roof, the geometry and area (approx. 25m) are given.

I was able to achieve the best coverage with the VERTEX series from TRINA SOLAR. The panel measures 228.4cm x 109.6cm with an output power of 545W (product number: TSM-DE19-545W). Despite its size, it can be easily assembled by two people with a weight of 28.6 kg. In 2021 this version was available directly from the Thai wholesaler GODUNGFAIFAA for around €150.
Orientation
The carport is oriented a little more to the west with a south azimuth of +15°. This value results in any hardly measurable losses in yield. The best angle of inclination for the panels depends on the location of the installation and depends on the southern high point of the sun. The data for this can be calculated with the help of Sun Earth Tools. Here the elevation for Dusseldorf (GER):

In Germany, the angle of inclination is between 30° and 40°. Here in Thailand, the midday sun is much more vertical and you get a maximum of 82° elevation. Incidentally, for the self-cleaning of the panels, you should take into account a tilt of at least 5°. Our carport roof has been given an incline of 6°, again due to the optics.
Base
The substructure for the panels, i.e. the basis of the carport roof, must meet a number of conditions. The weight of the panels is still manageable with a total of almost 300kg.
- The stability and load capacity should be dimensioned sufficiently. Here in Thailand we don't have to deal with snow loads (75kg/m² or 125kg/m²) but with gusty wind speeds of up to 100km/h. Data on wind strength can be found in Global Wind Atlas.
- The panels are mounted on aluminum rails so that assembly and alignment (we want the roof to be waterproof) is easy. The substructure must support the easy installation of these rails.
- The whole thing should also look visually appealing enough. Ugly examples can be found enough here on the island of Koh Samui.
With the help of the local steel construction company, we then came up with the following substructure:
- Eight galvanized post stands 10x10cm (2mm wall thickness) with concrete anchoring on the existing outside wall
- Galvanized steel beams 10x10cm (2mm wall thickness) for lower cross braces
- Galvanized steel beams 5x10cm (2mm wall thickness) for upper cross braces
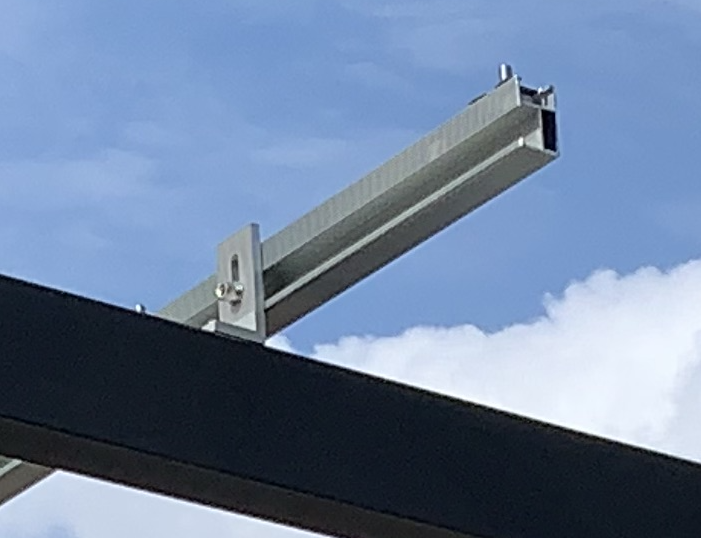
The aluminum rails are mounted on the upper cross braces using the L-Feeds:

The panels should be mounted with a distance (in our case 2.8cm) to avoid mechanical stress caused by temperature fluctuations between the panels. There are still two challenges:
Sealing
To seal the gaps, we need an UV-resistant EPDM sealing material. That turned out to be more difficult than expected. After a long research I found the company https://www.rinengsolar.com in Taiwan via Alibaba, who produced 30m for me. The EPDM Gasket looks like this in cross section:

and is simply clamped between the panels. There is also a suitable EPDM adhesive tape for sealing the crossing points.
Mounting without brackets
Typically, the panels are attached to the aluminum rails with mid and end clamps.
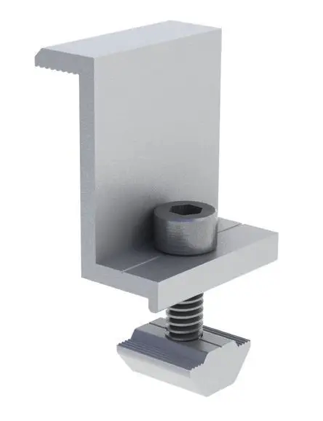

However, in order not to come into conflict with the EPDM seal, I used the existing mounting holes on the underside of the ALU frame of the panels. To do this, I take the lower part of the standard end clamps, mount the fastening screw from below and push the part into the aluminum rail. The panel can then be mounted on the protruding screws and fixed with a self-locking nut (see also the upper picture with the aluminum rail).
 Important: Don't forget the grounding clips during assembly. Anodized aluminum is not conductive on the surface, otherwise the necessary grounding will not succeed later.
Once assembled, the carport already looks very appealing: